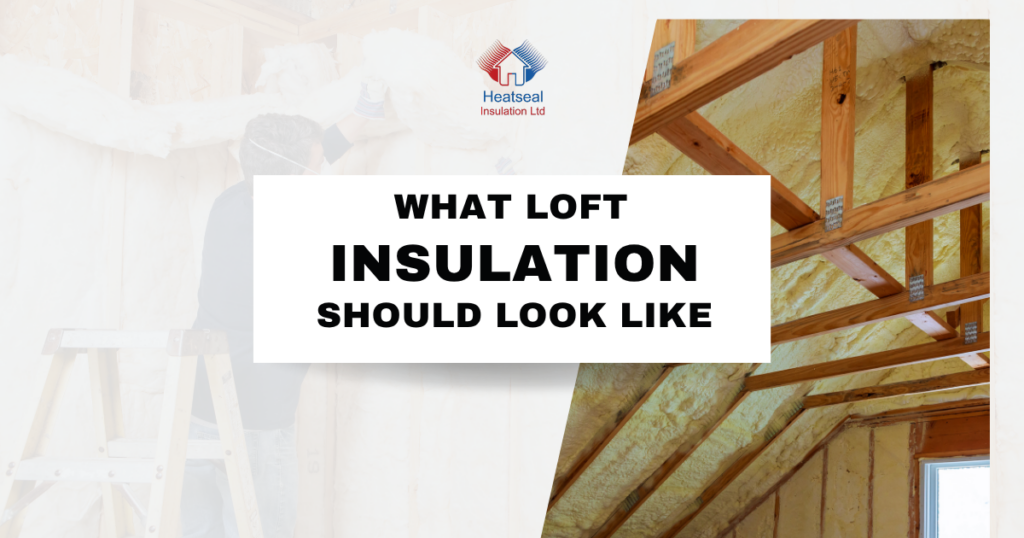
Many homeowners know loft insulation is important, but not everyone knows what properly installed insulation should actually look like. Whether you are checking your loft for the first time, concerned about heat loss, or wondering if your insulation needs upgrading, understanding the signs of effective loft insulation can help improve your home’s energy efficiency.
At Heatseal Insulation, we regularly help homeowners identify insulation problems and upgrade outdated loft insulation to reduce heat loss and lower heating bills.
Why Loft Insulation Matters
Loft insulation helps trap heat inside your home by creating a thermal barrier between your living space and the roof.
Because heat naturally rises, your loft is one of the main areas where warmth can escape. Without sufficient insulation, your heating system has to work harder to maintain comfortable temperatures.
Proper loft insulation can help:
Reduce heat loss
Lower heating bills
Improve energy efficiency
Keep your home warmer in winter
Reduce carbon emissions
Improve overall comfort
What Proper Loft Insulation Should Look Like
Evenly Distributed Across the Loft Floor
Good loft insulation should be spread evenly across the entire loft floor without noticeable gaps or exposed areas.
Patchy insulation allows heat to escape through uncovered sections of the ceiling.
Thick Enough to Meet Current Standards
Current UK guidance recommends loft insulation should typically be around 270mm thick.
In many homes, older insulation may only reach the height of the loft joists, which is often insufficient by modern standards.
Properly installed insulation should appear deep, consistent, and well layered.
Dry and Clean
Healthy loft insulation should always be dry.
If insulation appears damp, stained, mouldy, or compacted, it may indicate:
Roof leaks
Condensation problems
Poor ventilation
Water damage
Wet insulation loses effectiveness and may need replacing.
Fluffy and Full
Insulation such as mineral wool should look thick and fluffy rather than flattened or compressed.
Compressed insulation traps less air and becomes less effective at retaining heat.
Free From Gaps Around Edges and Pipes
Heat can escape through small uninsulated areas around:
Loft hatches
Pipework
Electrical fittings
Roof edges
A properly insulated loft should have consistent coverage while still allowing safe ventilation where needed.
Raised Above Loft Joists
In well-insulated lofts, insulation often sits above the level of the joists because additional layers have been added to achieve recommended thickness.
If you can clearly see exposed joists with little insulation above them, your loft may benefit from an upgrade.
Signs Your Loft Insulation May Not Be Performing Properly
Even if insulation is present, it may not be effective.
Warning signs include:
Cold rooms upstairs
High energy bills
Heating constantly running
Draughts and cold spots
Uneven temperatures
Condensation in the loft
Thin or damaged insulation
These issues often indicate heat is escaping through the roof.
Common Loft Insulation Problems
Old or Outdated Insulation
Many older homes still contain insulation installed decades ago that no longer meets modern efficiency standards.
Compressed Insulation
Storage boards or items placed directly on insulation can squash it, reducing its thermal performance.
Damp Insulation
Moisture significantly reduces insulation effectiveness and can lead to mould or timber issues.
Uneven Installation
Gaps and inconsistent coverage reduce the ability of insulation to retain heat efficiently.
How to Check Your Loft Insulation Safely
If you inspect your loft yourself:
Use adequate lighting
Step only on joists or loft boards
Avoid compressing insulation
Look for damp patches or gaps
Check insulation depth across the loft
If you are unsure about insulation quality or safety, a professional assessment is recommended.